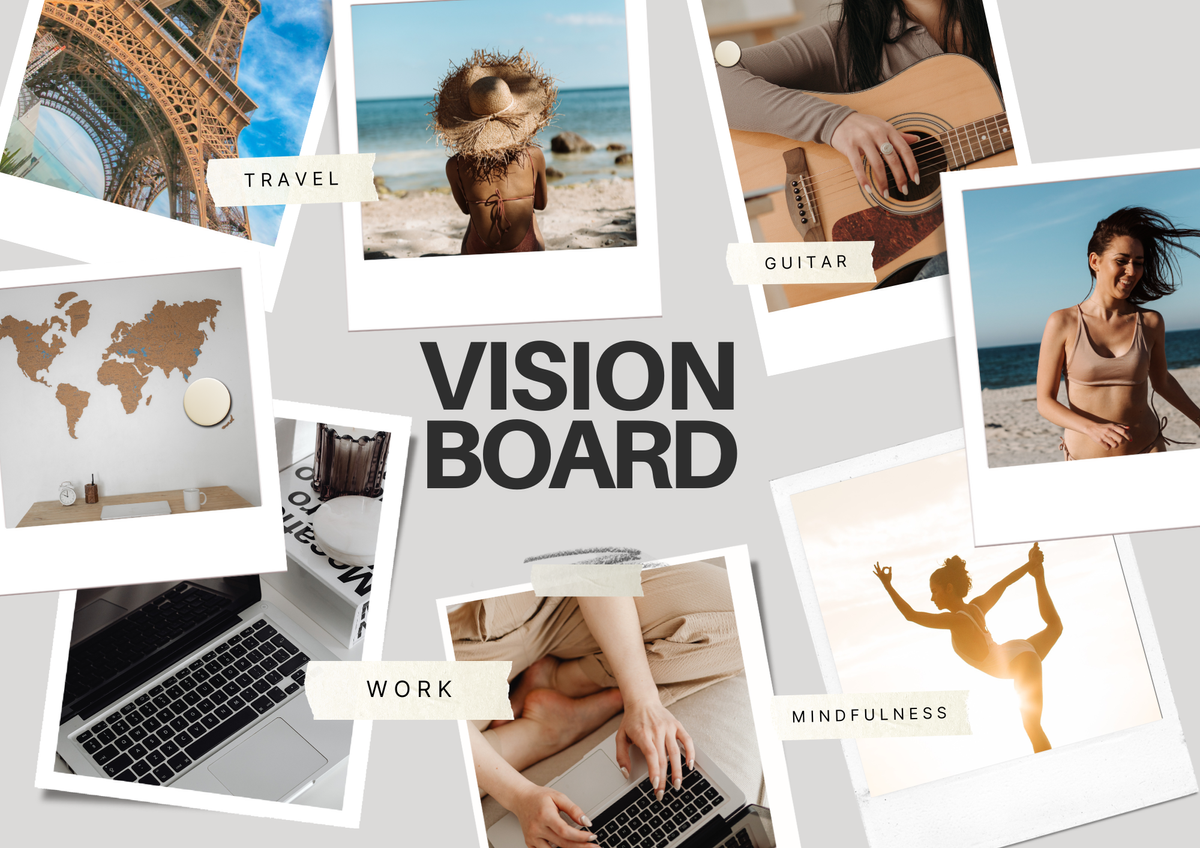
Welcome to the journey of turning your dreams into reality! Our Vision Board Kit is designed to help you visualize your goals, stay motivated, and track your progress. This comprehensive guide will walk you through each step of using the Vision Board Kit, ensuring you make the most of its features to achieve your aspirations.
Step 1: Set Your Intentions
Before diving into the creative process of building your vision board, it's crucial to set clear intentions. Reflect on what you truly want to achieve in various areas of your life. Consider your career, health, relationships, personal development, and leisure activities.
Start by identifying specific, measurable goals. For example, instead of setting a vague goal like "get healthier," specify what that means to you. It could be "exercise three times a week" or "lose 10 pounds in three months." Use the provided Goal-Setting Worksheets to break down your goals into manageable steps, ensuring you have a clear roadmap to follow.
Step 2: Gather Your Materials
Now that you have a clear understanding of your goals, it’s time to gather the materials you’ll need to create your vision board. Your Vision Board Kit includes various templates, inspirational quotes, affirmations, and a curated image collection. Here’s a detailed list of what you’ll need:
- Vision Board Templates: Choose from the different layouts provided in the kit to find the one that best suits your style and space.
- Inspirational Quotes and Affirmations: Print and cut out the provided quotes and affirmations that resonate with your goals.
- Image Collection: Download and print high-quality images that represent your aspirations. Feel free to add your own photos and clippings from magazines that inspire you.
- Additional Supplies: Gather scissors, glue, markers, and any other craft supplies you prefer to personalize your vision board.
Step 3: Create Your Vision Board
With your materials ready, it’s time to start creating your vision board. Follow these steps to design a board that truly reflects your dreams:
- Layout and Design: Begin by arranging your Vision Board Template on a flat surface. Place the images, quotes, and other elements on the template without gluing them down. Experiment with different layouts until you find one that feels right. Consider the flow and balance of your board, making sure each element is prominently displayed.
- Personalize Your Board: Once you’re satisfied with the layout, start gluing the elements in place. Add drawings, doodles, stickers, or any embellishments that make your board uniquely yours. The goal is to create a board that not only inspires you but also reflects your personality and aspirations.
Step 4: Reflect and Affirm
Now that your vision board is assembled, take a moment to reflect on what you’ve created. Each element on your board represents a piece of your future – a goal, a dream, an aspiration. Reviewing your board regularly helps keep your intentions clear and focused.
Incorporate the provided Affirmation Quotes into your daily routine. Write these positive statements on sticky notes or in your journal and place them where you’ll see them often. Affirmations help reinforce your goals and keep you motivated. For example, if one of your goals is to improve your health, an affirmation might be, “I am strong and healthy, and I prioritize my well-being every day.”
Step 5: Track Your Habits
Achieving your goals requires consistent effort and positive habits. The Habit Tracker included in your Vision Board Kit is a powerful tool to help you stay accountable and monitor your progress.
- Set Your Habits: Identify the daily or weekly habits that will support your goals. For example, if your goal is to write a book, a supporting habit might be writing for 30 minutes each day.
- Monitor Progress: Regularly update your Habit Tracker to stay on top of your commitments. At the end of each week or month, review your tracker to see what’s working and what might need adjustment. This reflection helps you stay focused and make necessary changes to stay on track.
Step 6: Display Your Vision Board
Your vision board is a powerful visual reminder of your goals, so it’s important to place it somewhere you’ll see it every day. Here are a few tips on where and how to display your vision board:
- Choose a Spot: Find a prominent location where you’ll frequently see your board, such as your workspace, bedroom, or a personal sanctuary.
- Daily Review: Spend a few moments each day looking at your vision board. Visualize yourself achieving your goals and repeat your affirmations. This daily practice helps reinforce your intentions and keeps you motivated.
Step 7: Monthly Reflection and Updates
Regularly reviewing and updating your vision board ensures it remains relevant and inspiring. Here’s how to make the most of your monthly reflections:
- Monthly Check-In: Use the Monthly Reflection Prompts included in the kit to assess your progress. Reflect on your achievements, challenges, and lessons learned. Celebrate your successes, no matter how small, and set new goals for the upcoming month.
- Update Your Board: As you achieve your goals, remove them from your board and add new images, quotes, or elements that reflect your evolving aspirations. This dynamic process keeps your vision board aligned with your current goals and keeps you motivated.
Step 8: Write a Letter to Future Me
Writing a letter to your future self is a powerful exercise in reflection and goal setting. Use the "Letter to Future Me" template provided in your kit to capture your current state, goals, and hopes for the future.
- Reflect on Your Journey: Think about where you are now, what you’ve achieved, and what you hope to accomplish in the future. Write a heartfelt letter to yourself, including your dreams, aspirations, and any advice you want to give your future self.
- Seal and Save: Seal the letter and store it in a safe place. Set a reminder to read it at a future date to reflect on your progress and celebrate your achievements.
Conclusion
Creating and using a vision board is more than just a fun project; it’s a powerful tool for personal growth and achievement. By following these steps and regularly engaging with your Vision Board Kit, you’ll stay motivated, focused, and inspired on your journey to achieving your dreams.
Remember, the journey to success is a marathon, not a sprint. Stay patient, stay committed, and keep your vision clear. Embrace the journey, celebrate your progress, and never stop dreaming. Welcome to a life of endless possibilities!


